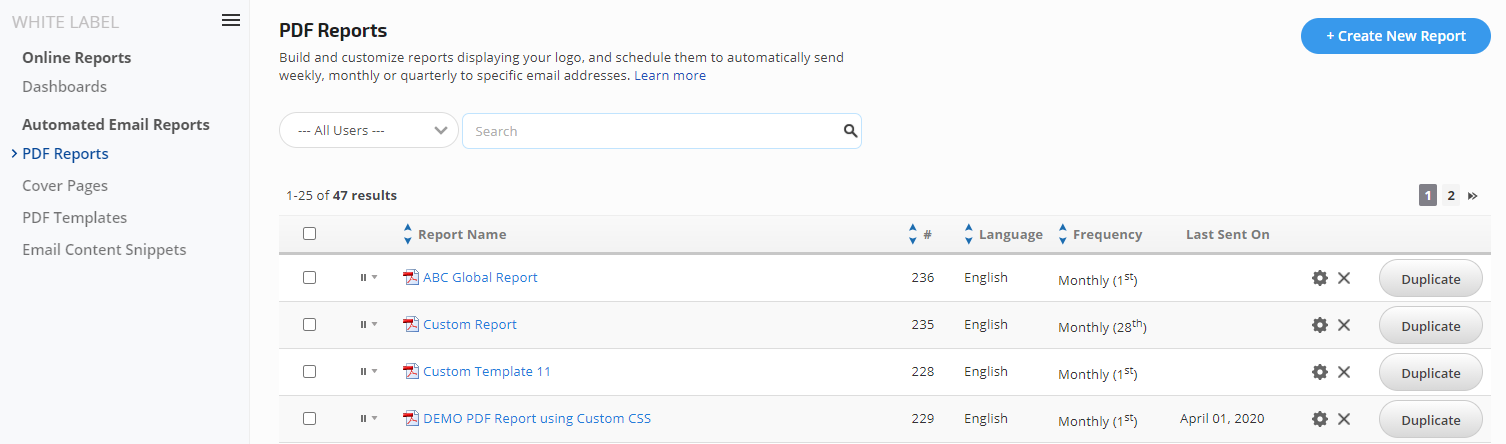
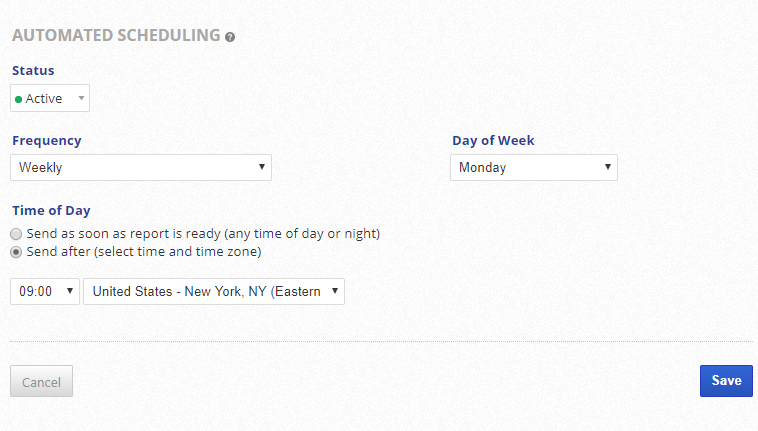
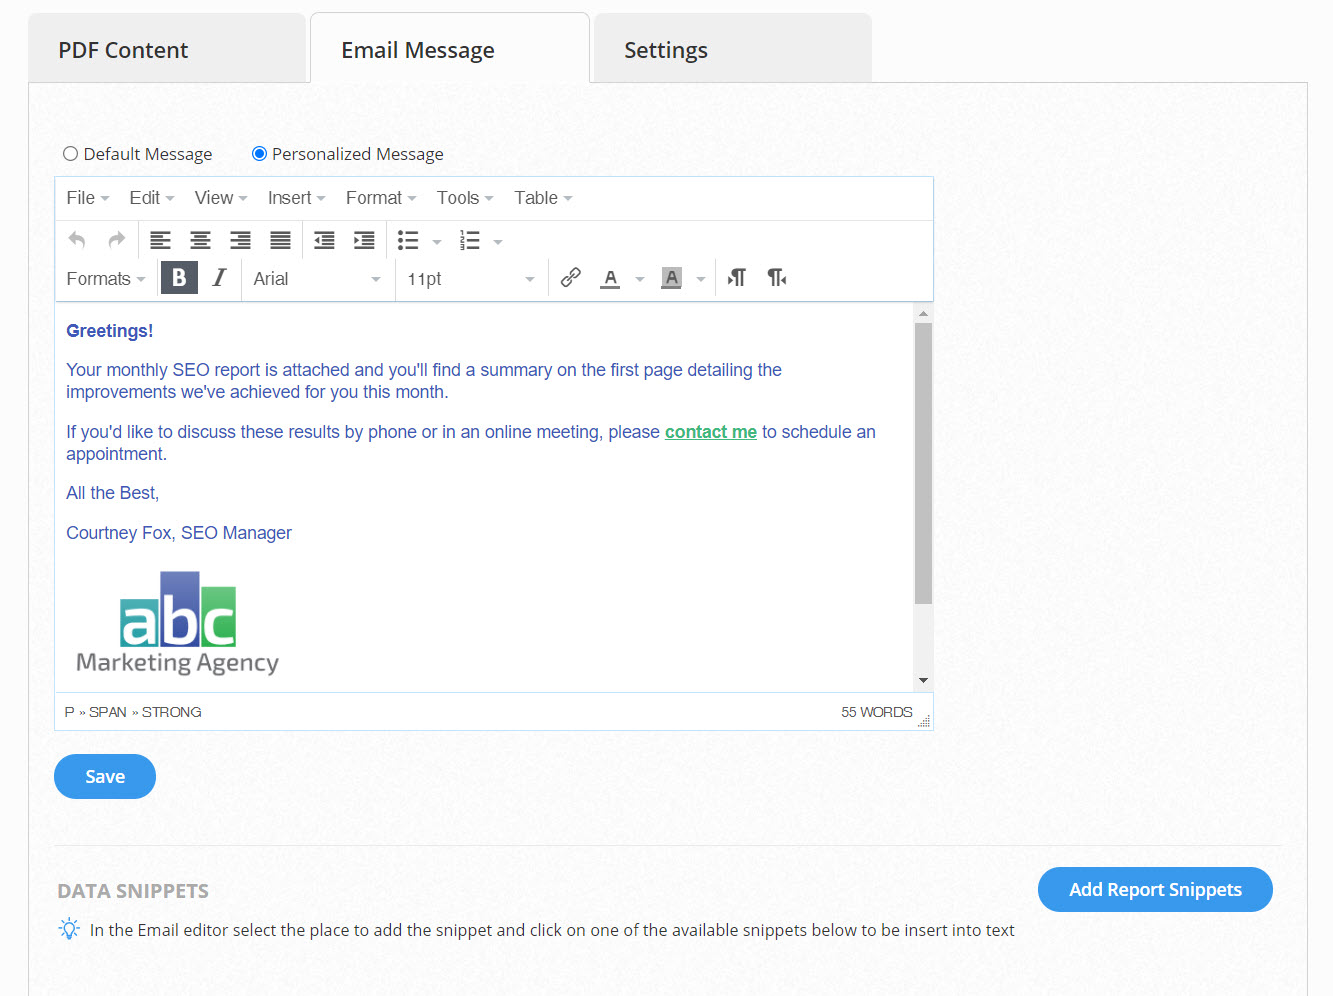
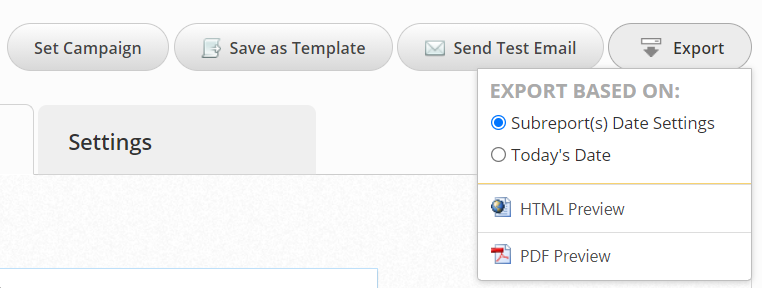
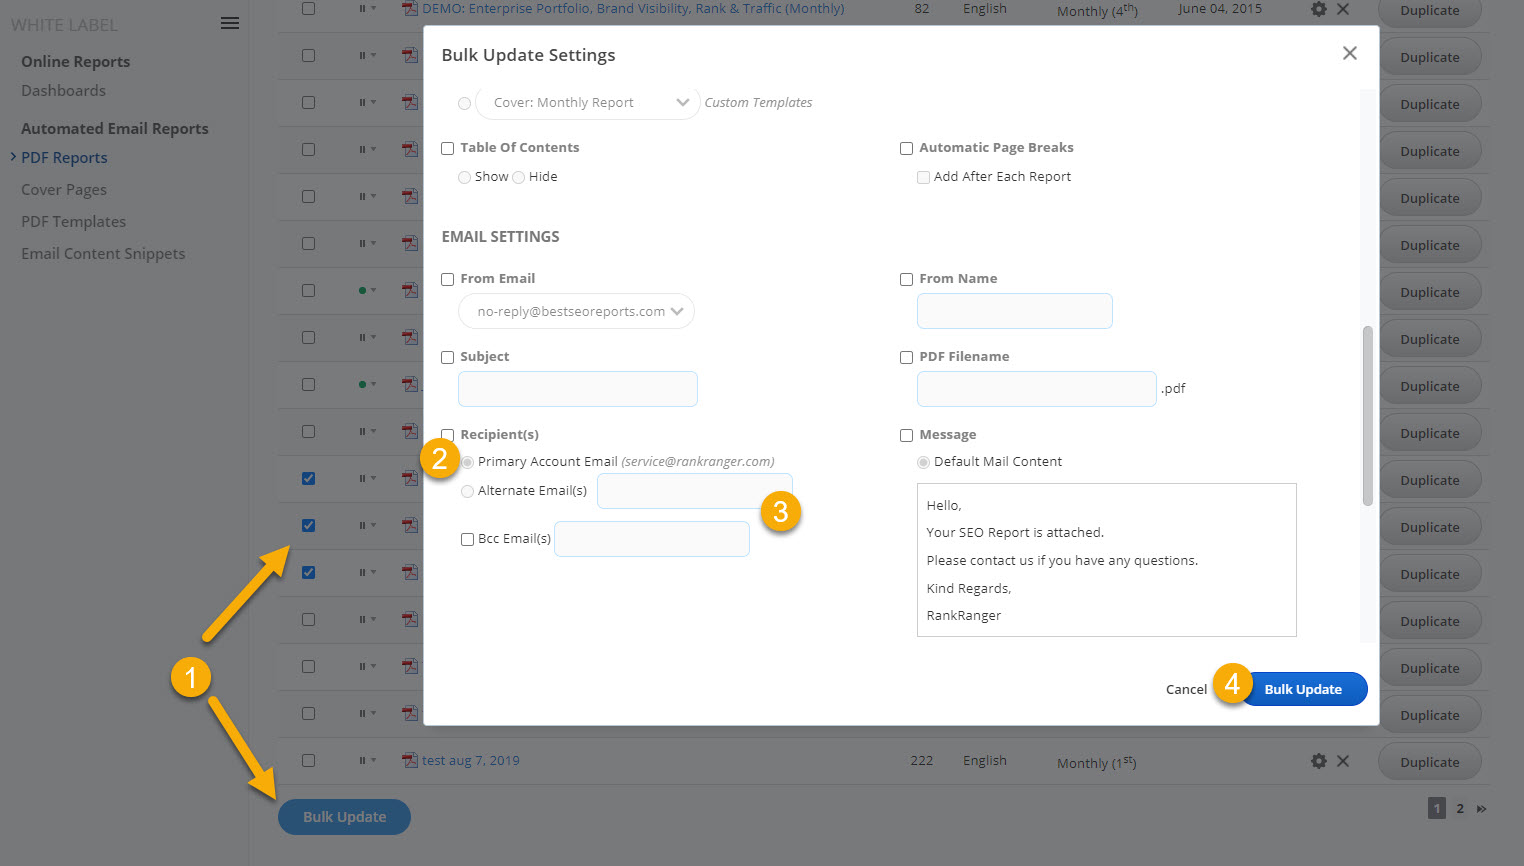
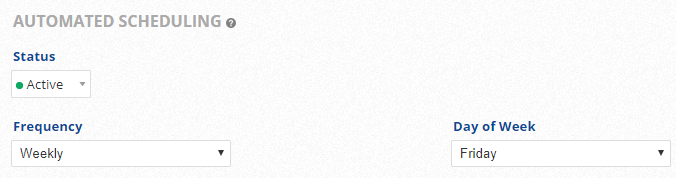
Rank Ranger White Label PDF reports are automatically sent weekly, monthly or quarterly to your account email address or an alternate address of your choosing.
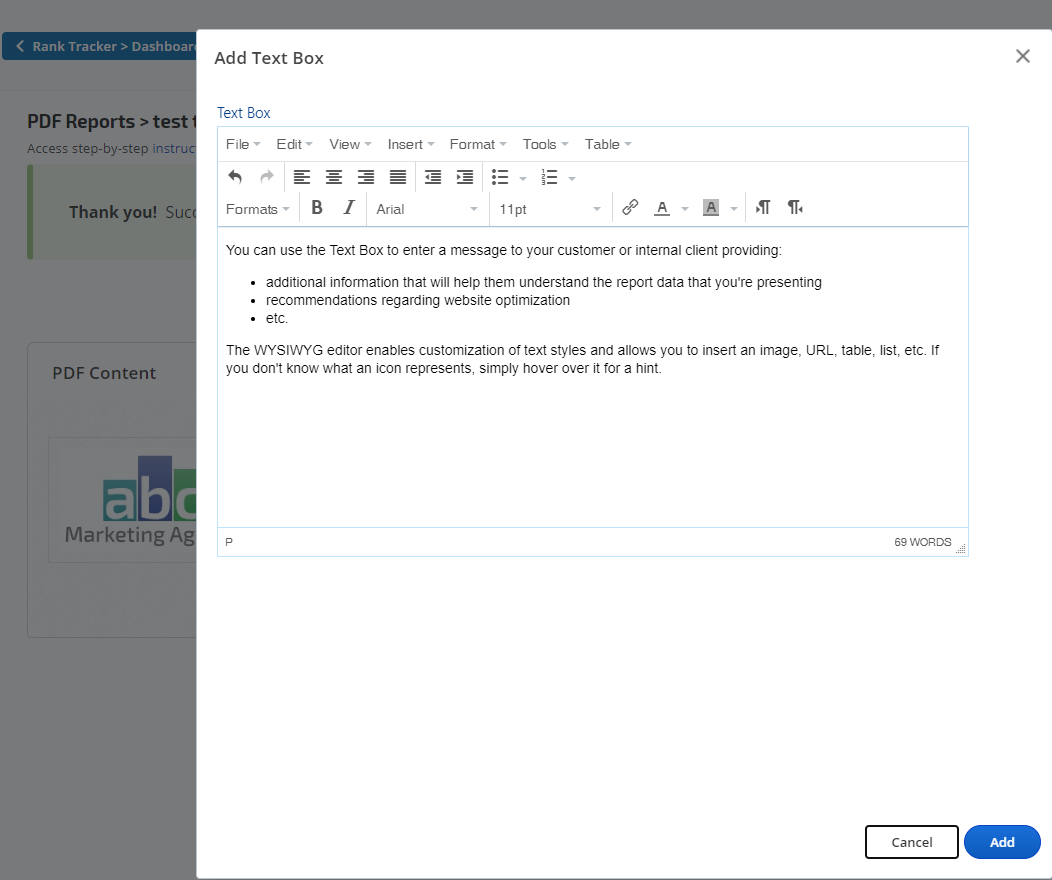
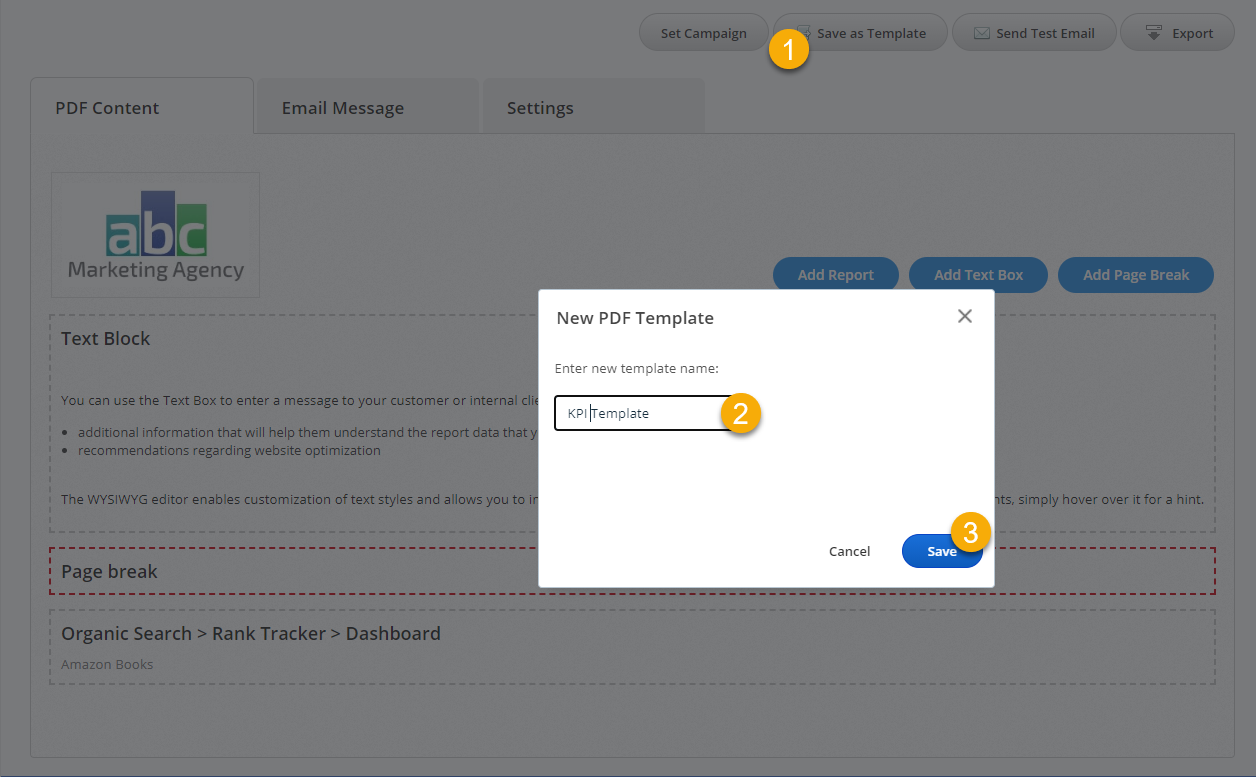
Our Cover Pages and CSS Templates make it easy to create personalized cover pages and style reports. Similarly, Rank Ranger's PDF Templates provide a simple tool to create the same report for multiple customers without starting from scratch each time. Once you have a layout created that will work for other clients, with the click of a button you can create a new report using the same layout and then change only the necessary campaign-specific fields.
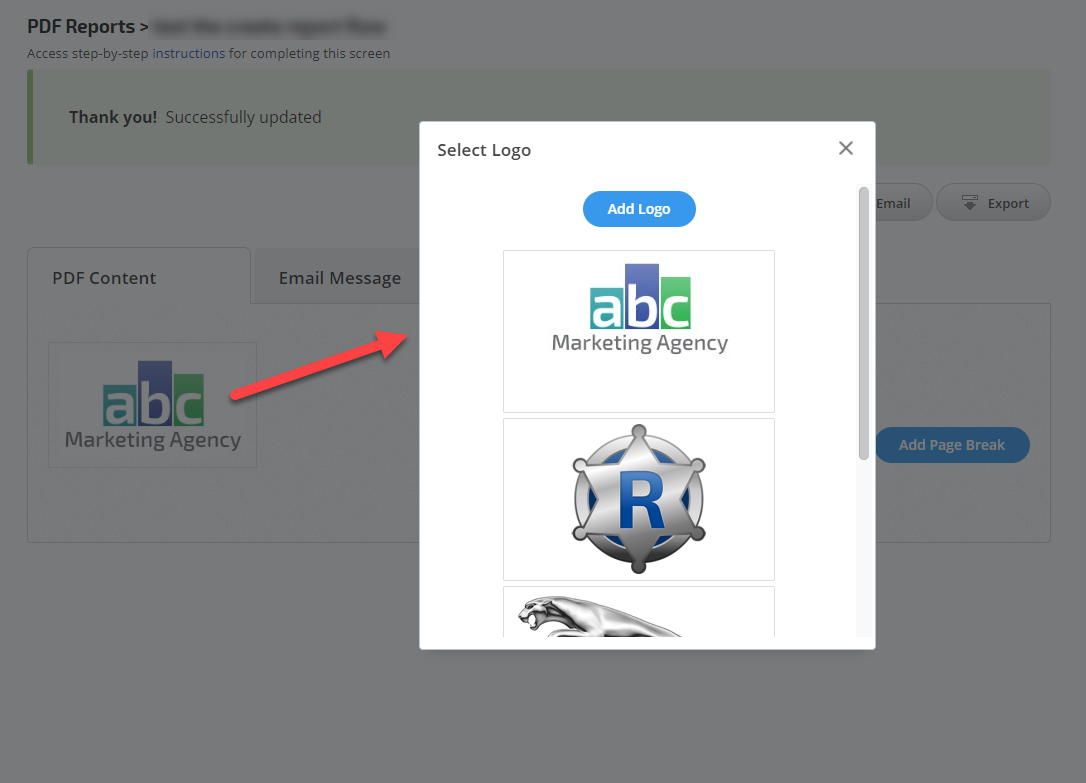
Refer to Account Logos for instructions on uploading Account and Campaign-Specific logos.
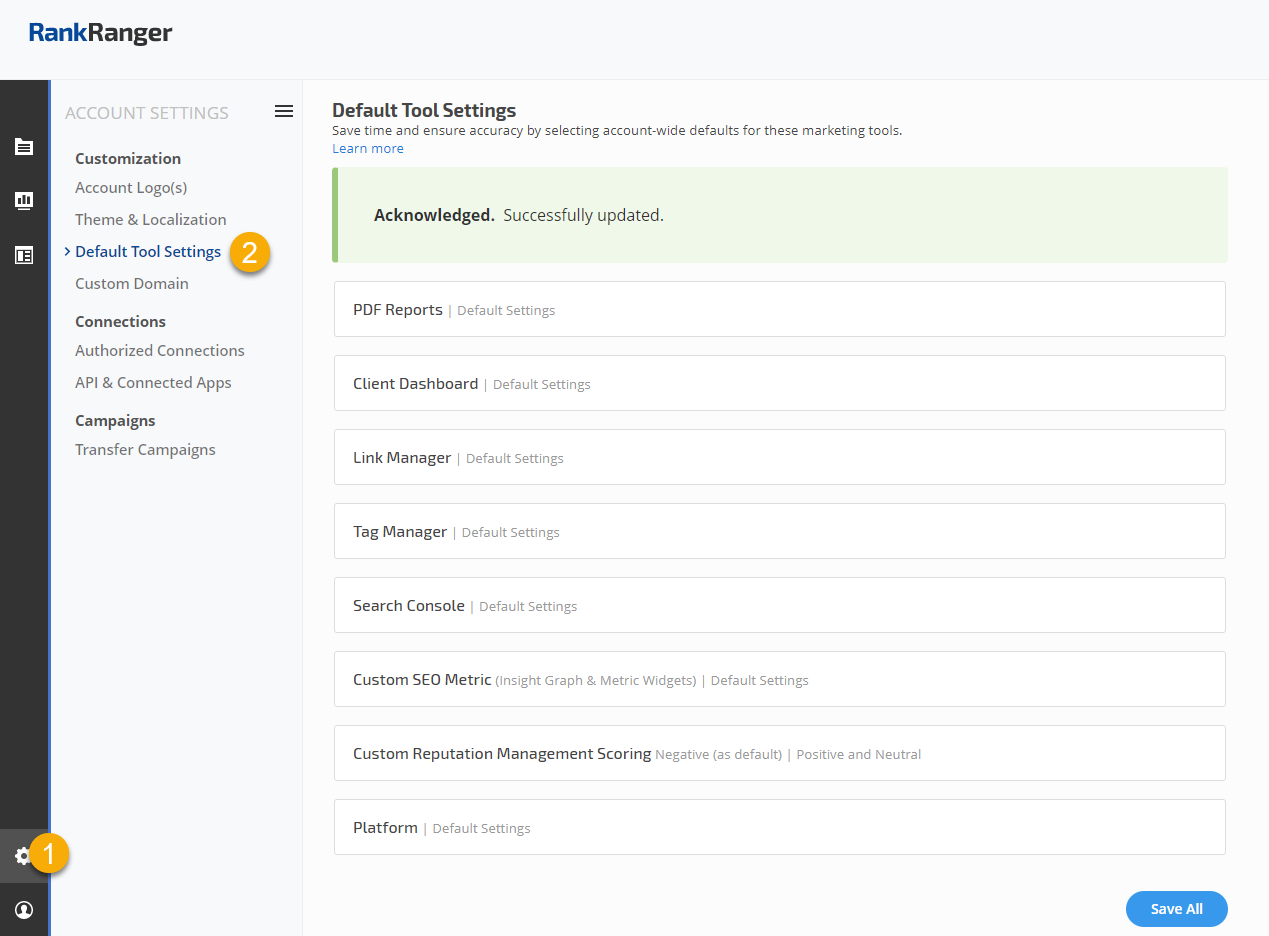
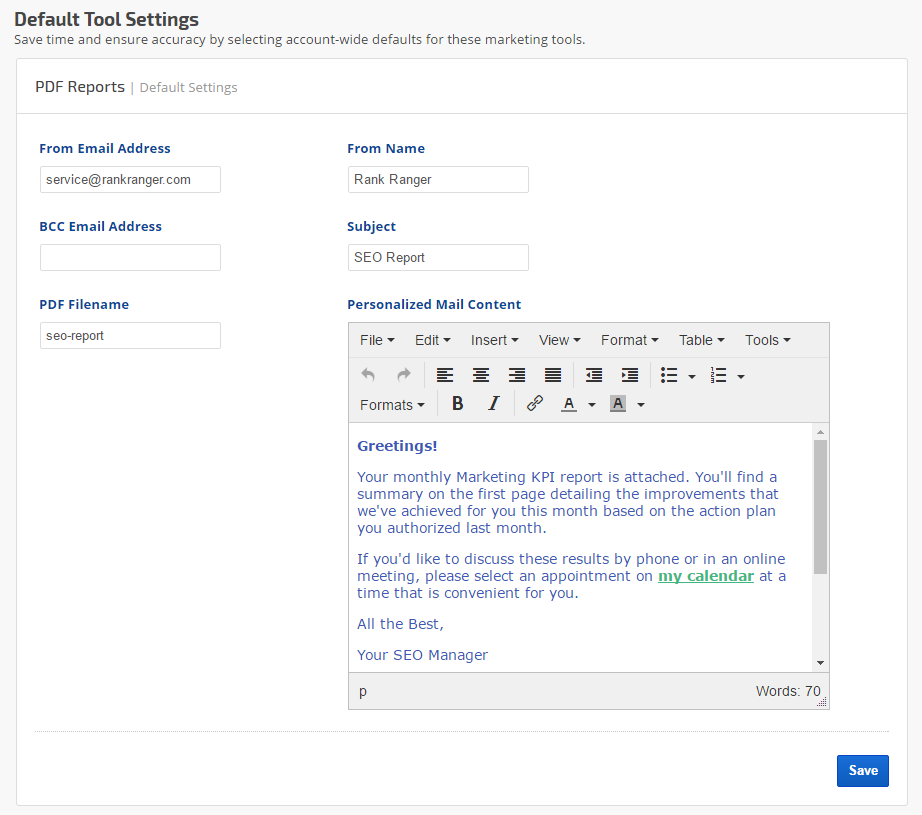
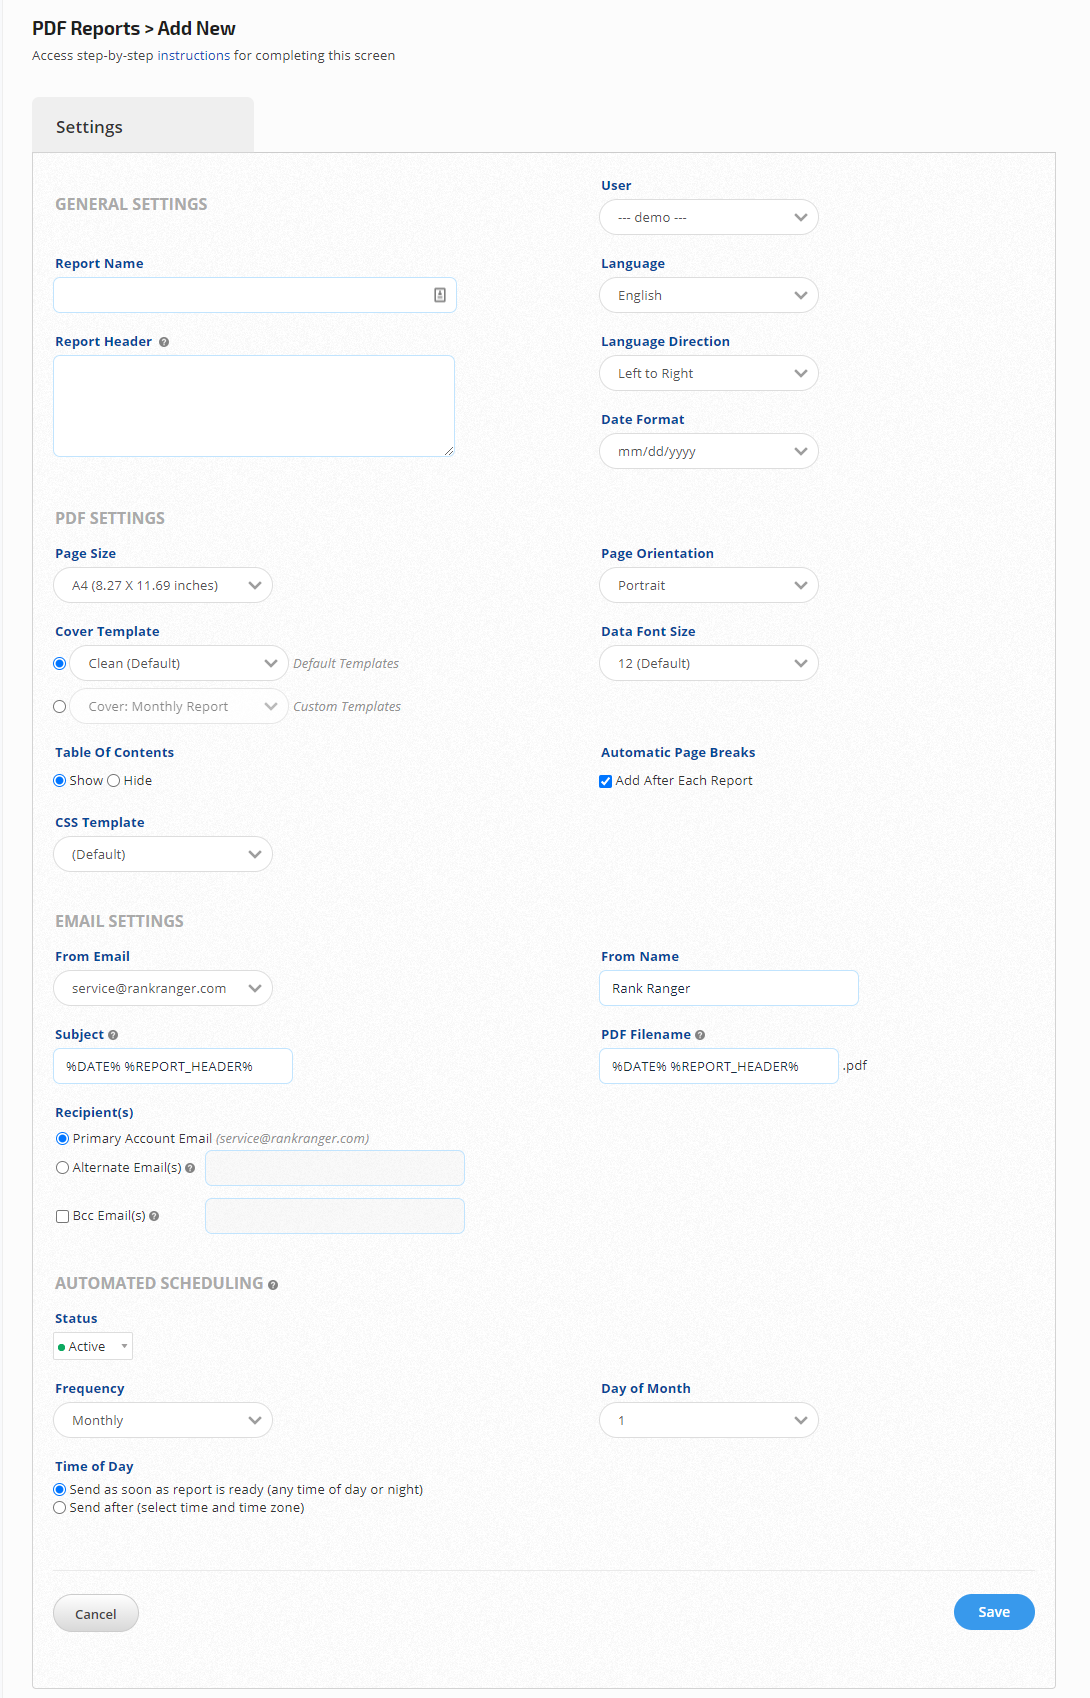
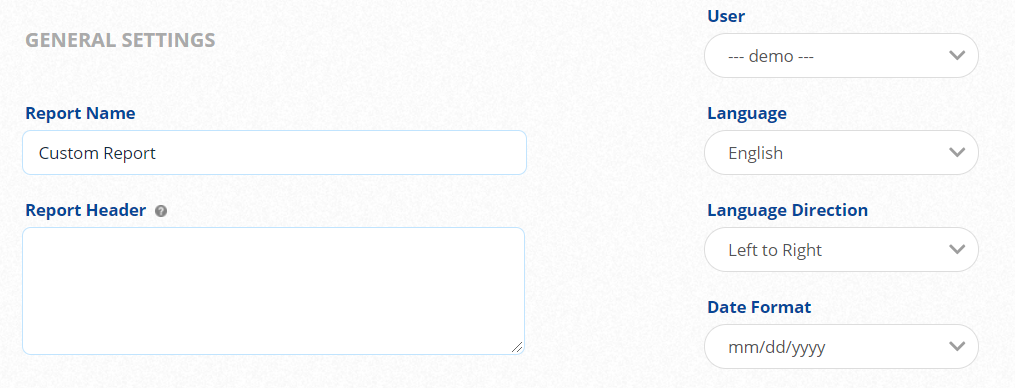
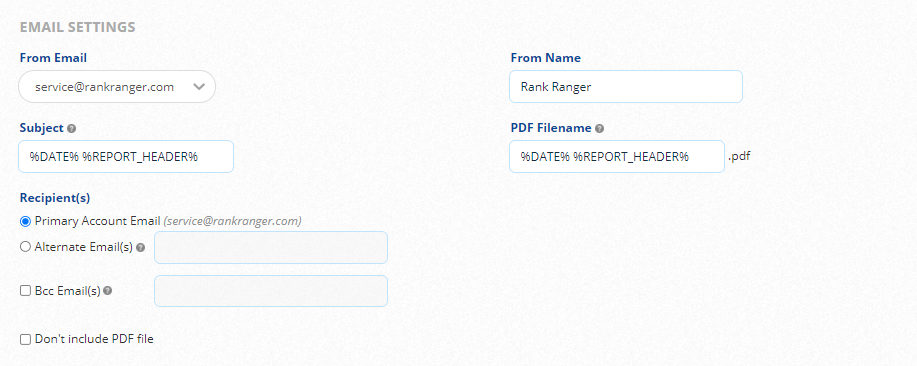
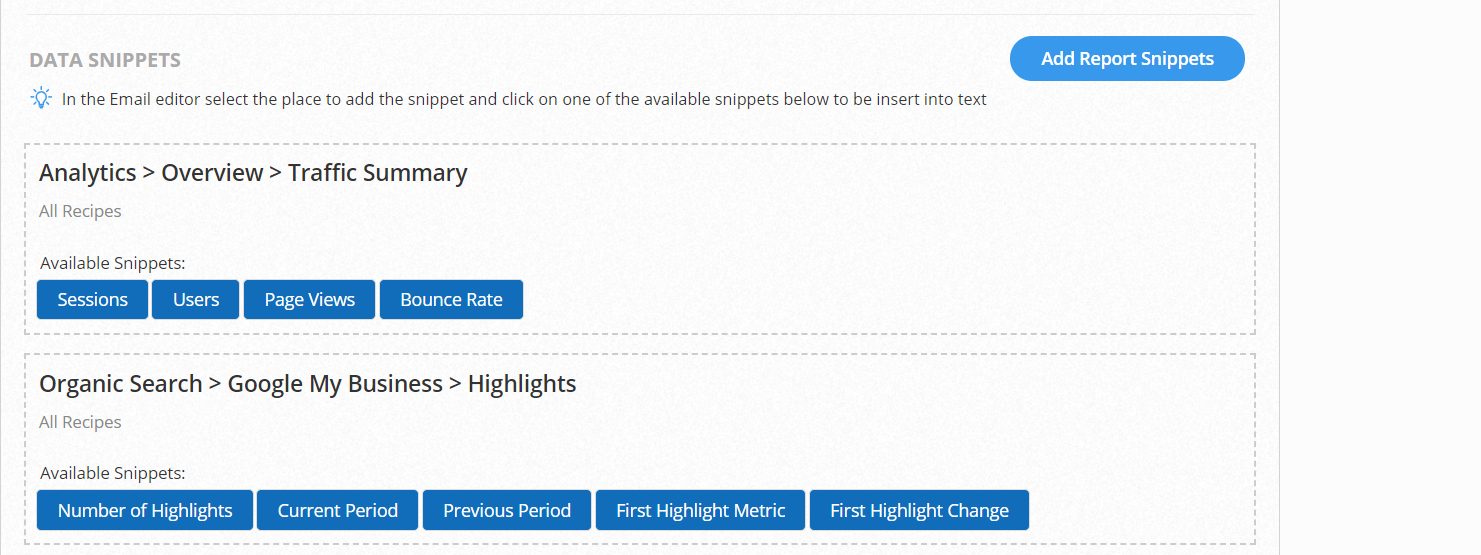
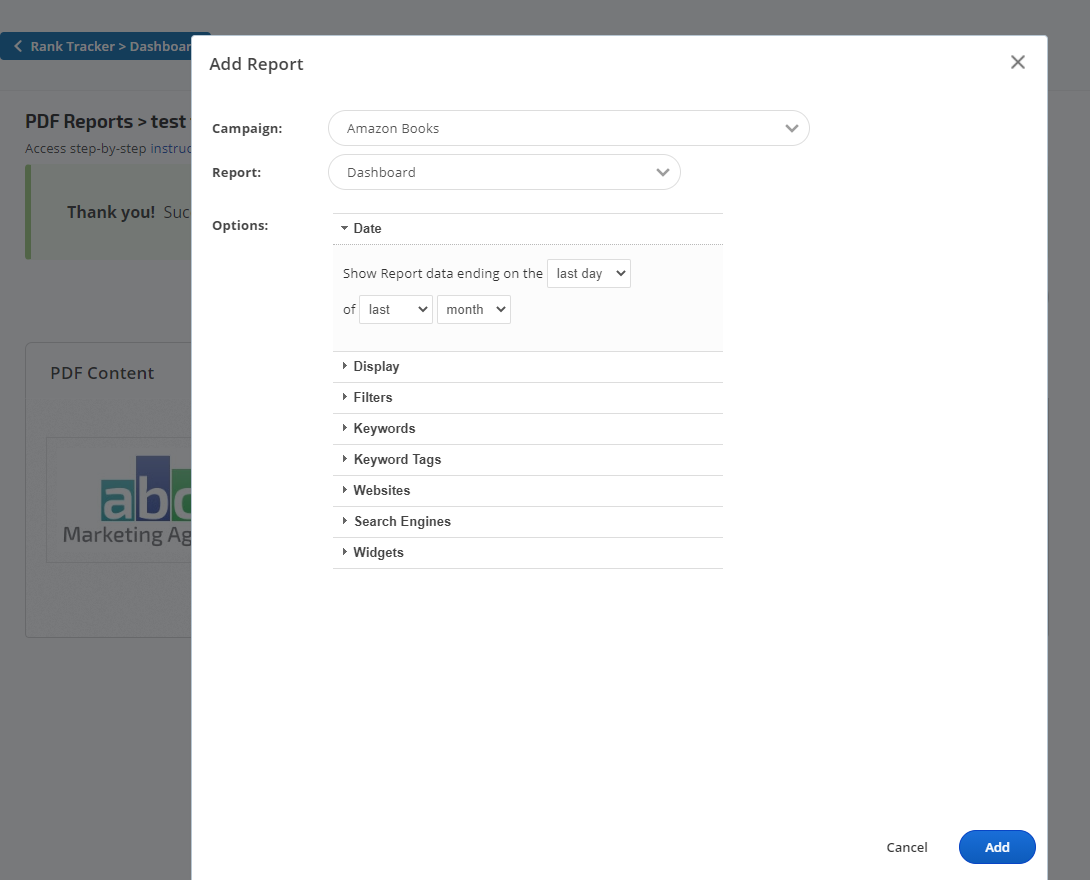
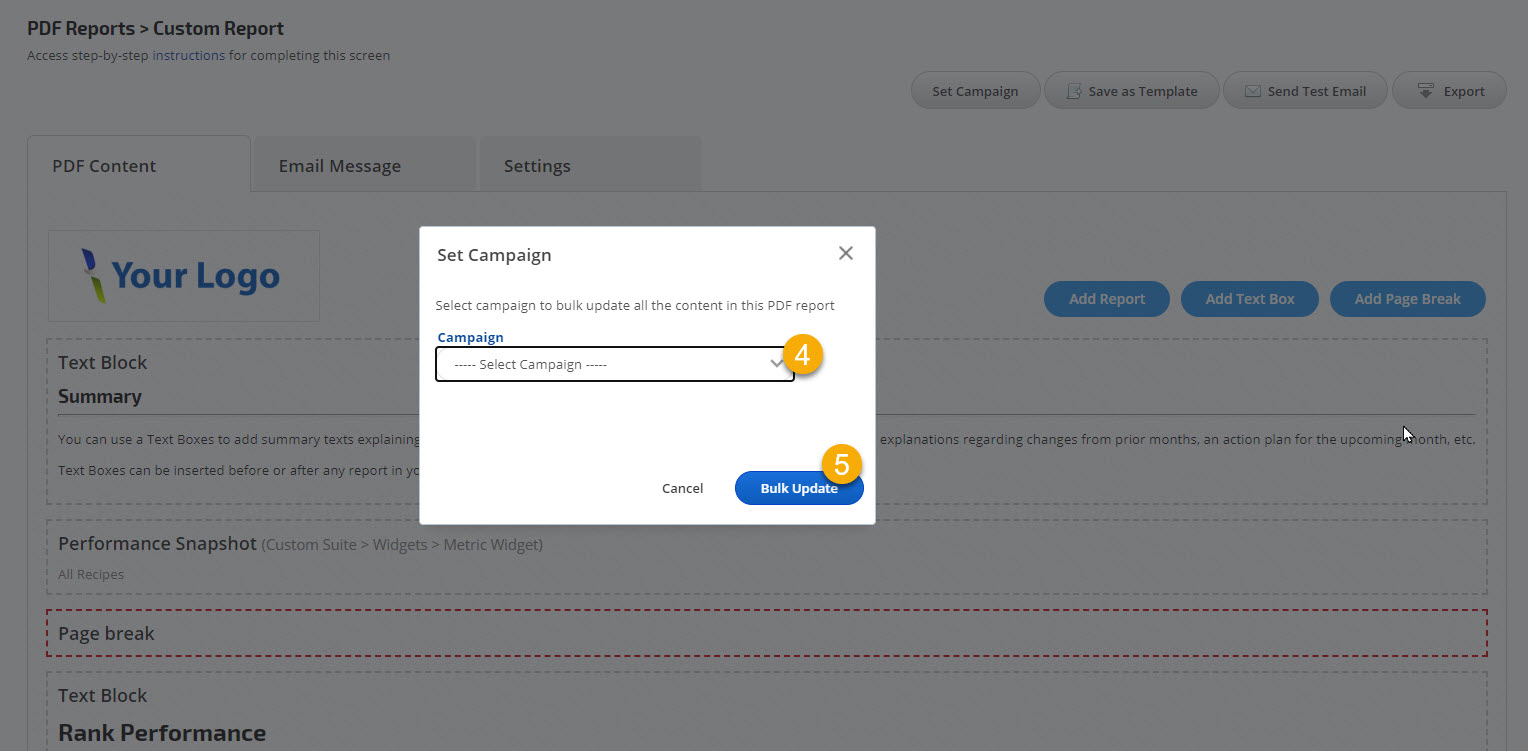
There are 3 options for creating the framework that determines the Automated Email PDF Report settings such as report name, language preferences, page size and orientation, cover page, email addresses and message, and schedule:
- Create a new PDF Report in the White Label PDF Reports screen
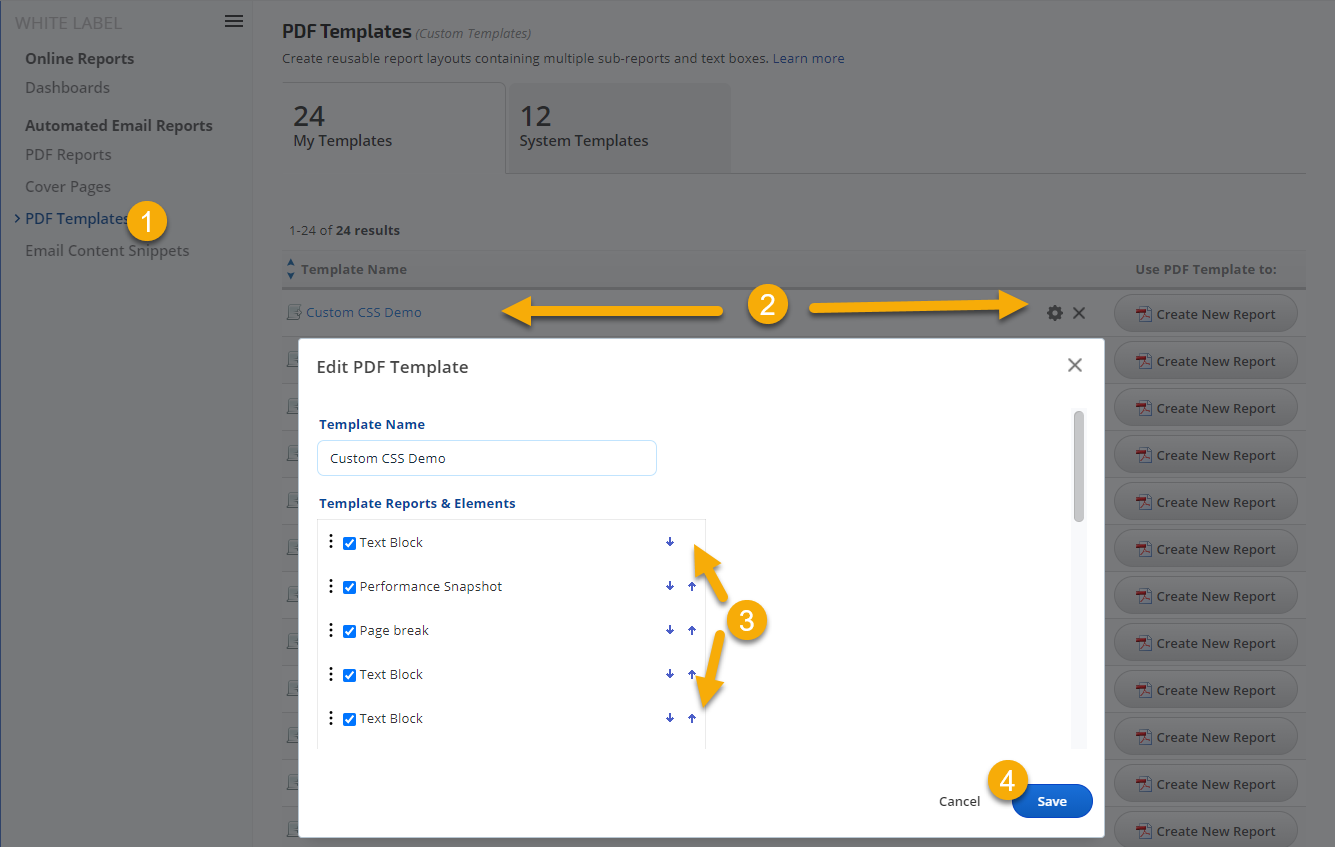
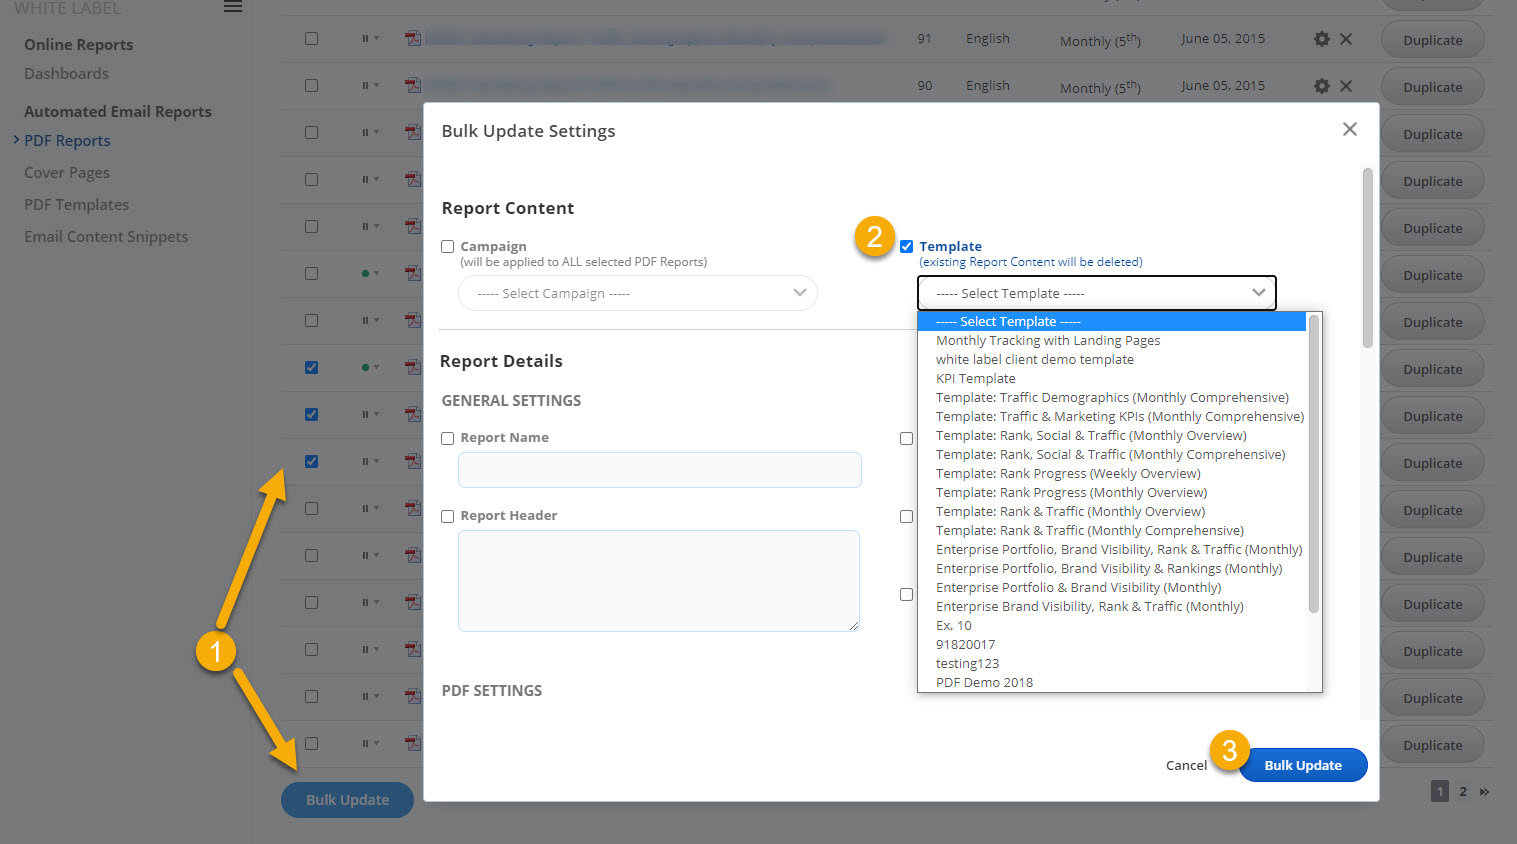
- Create from a previously saved PDF Template
- Duplicate an existing PDF report
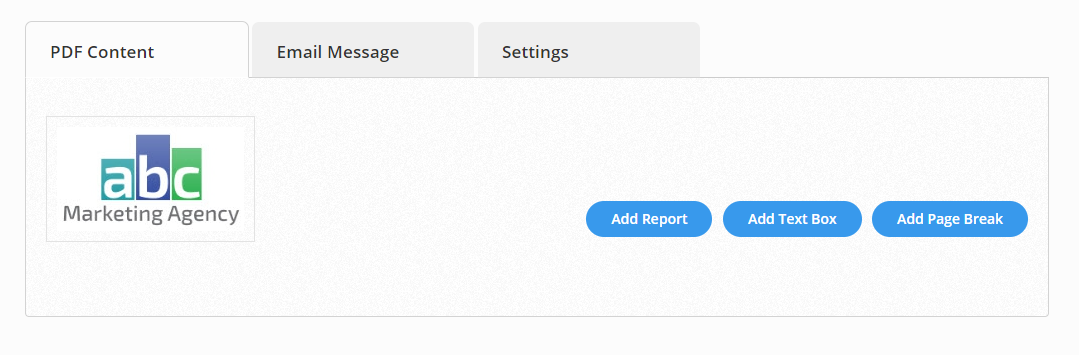
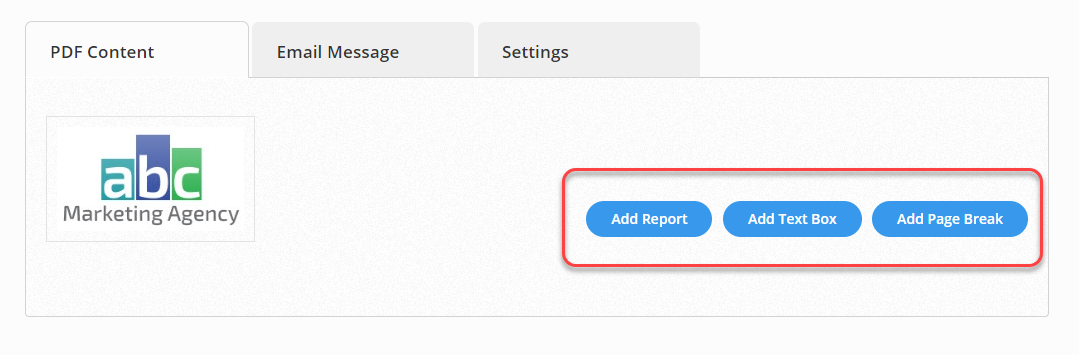
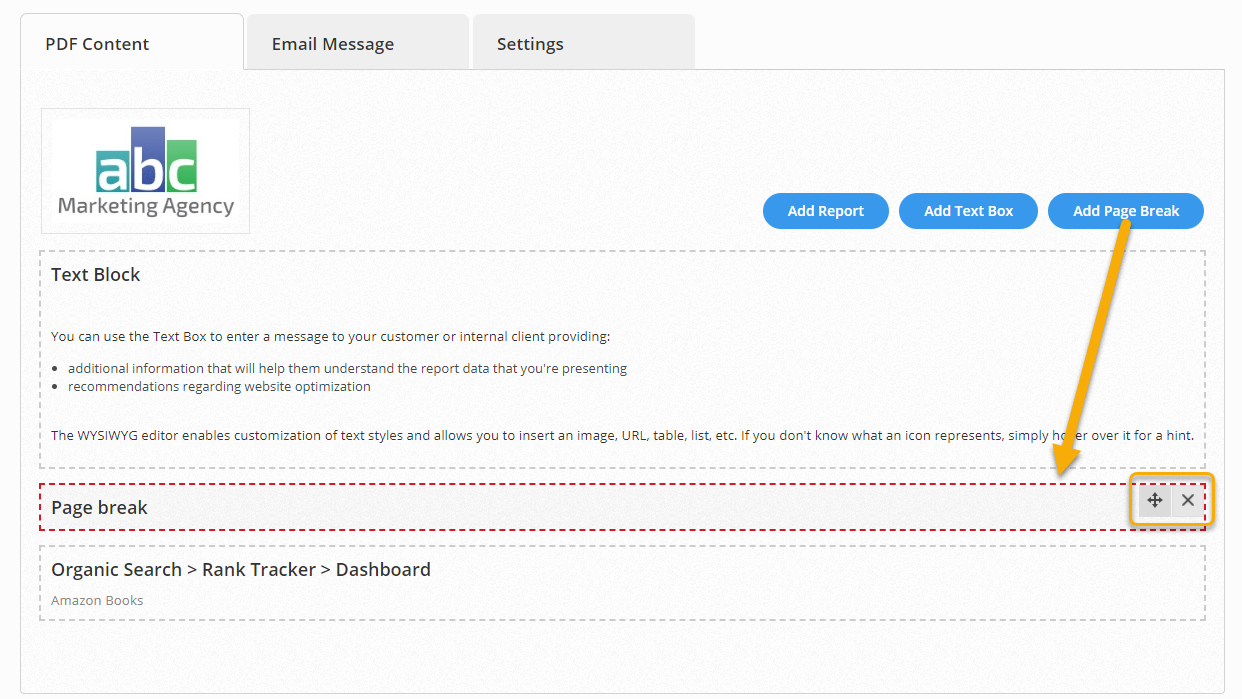
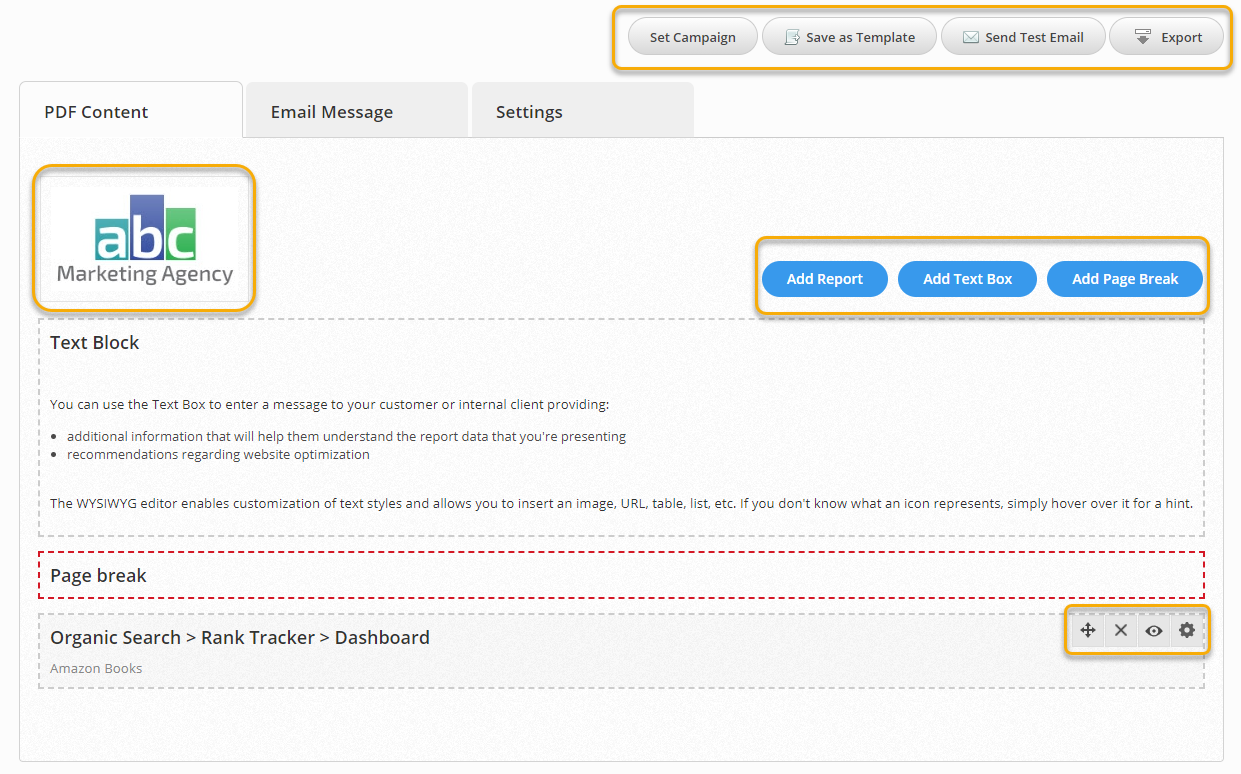
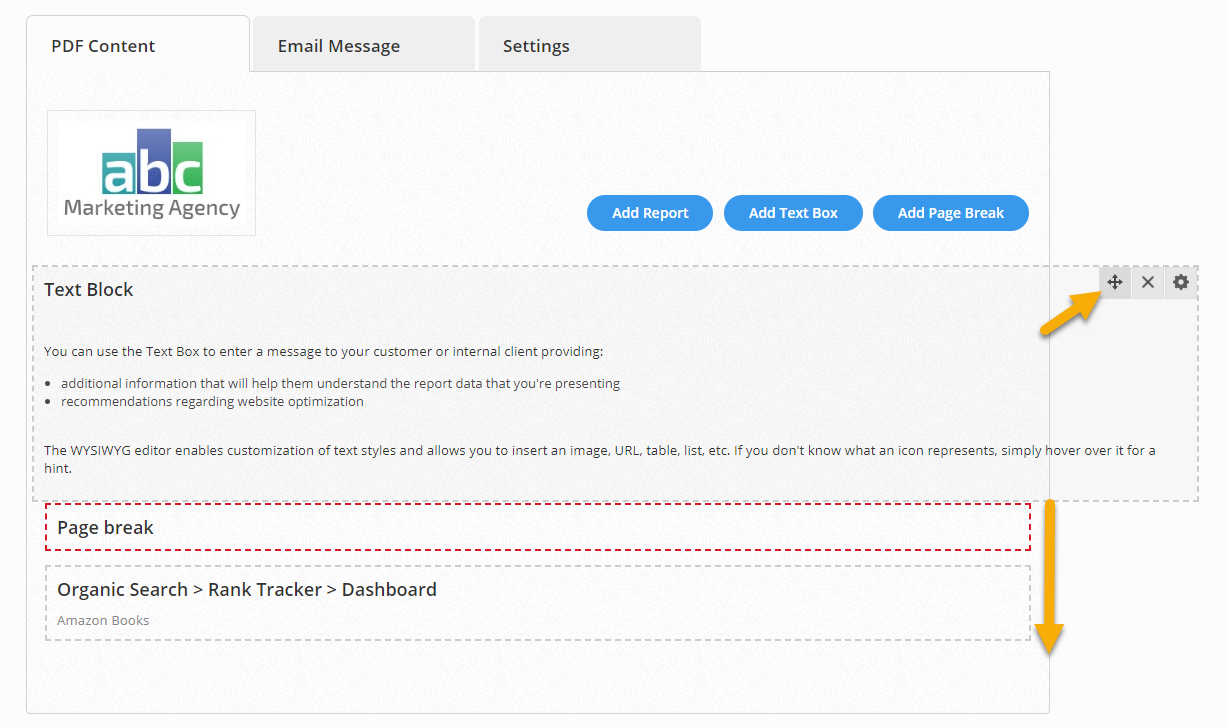
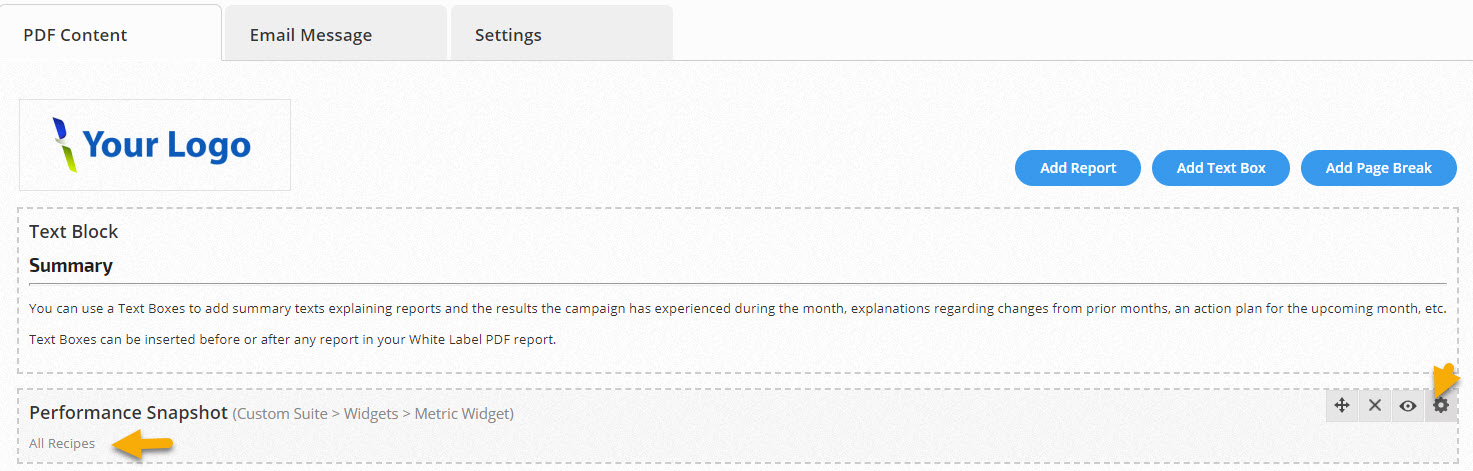
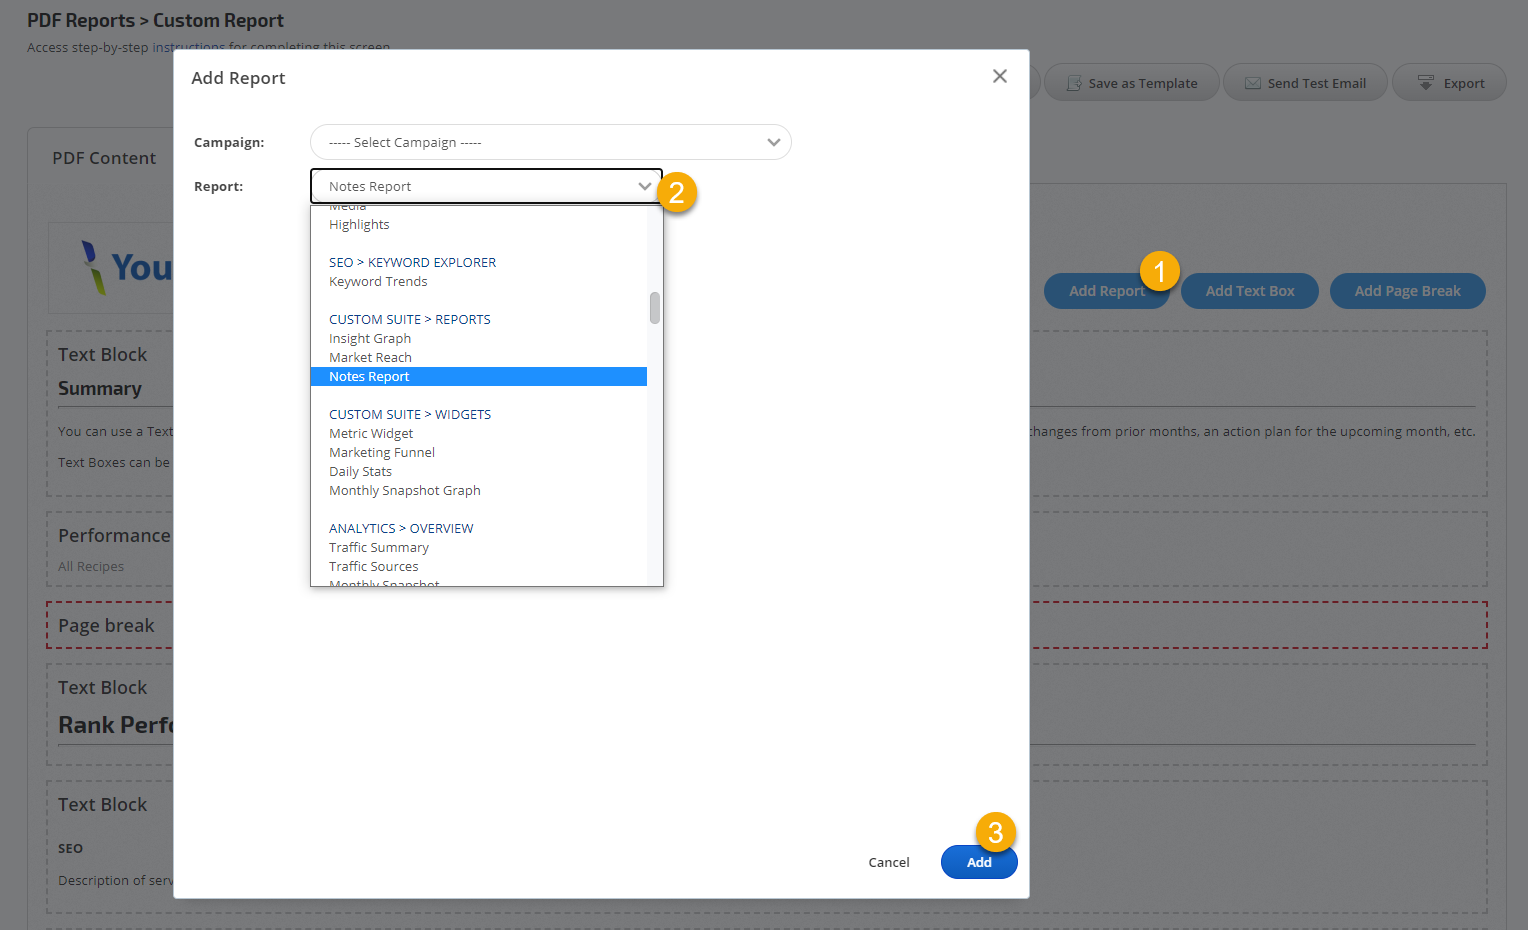
- Create new PDF Report Content in the White Label PDF Reports screen
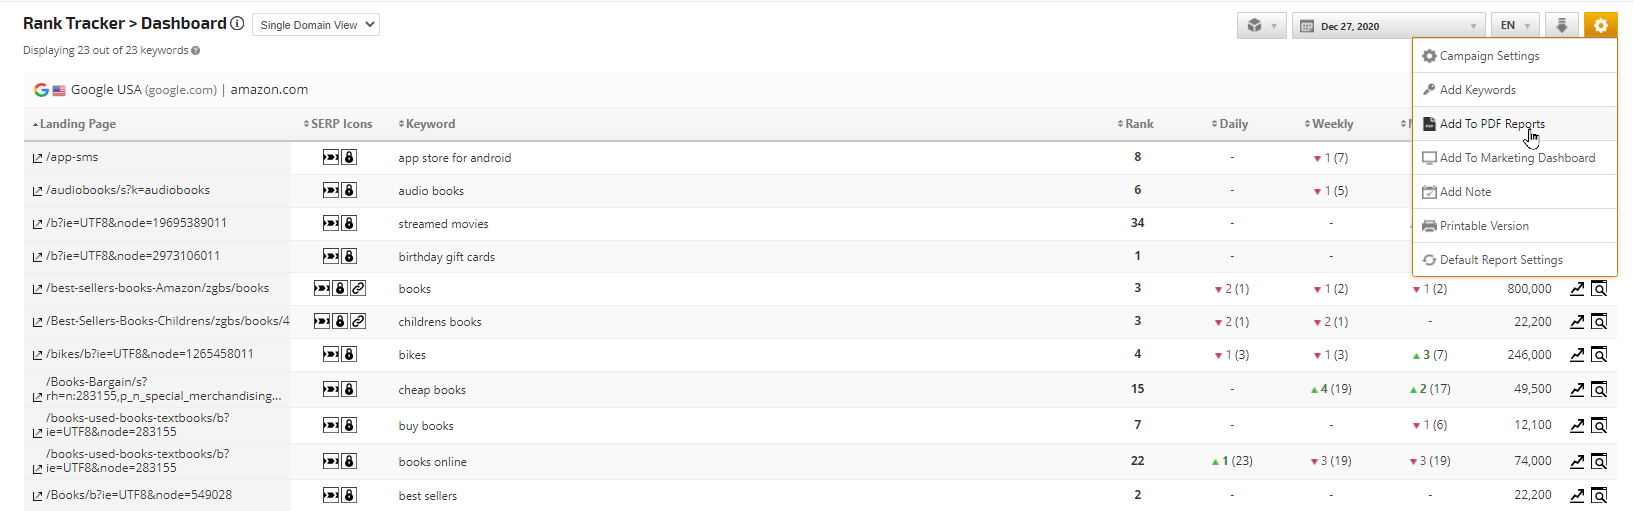
- Add a report or graph to an existing PDF Report while viewing that report or graph screen by clicking the gear icon and selecting Add to PDF Report